Connect to remote laptop
This quick start guide describes how to install Husarnet VPN Client software on your computers running Linux and how to configure a network using Husarnet Dashboard in few easy steps.
I. Create a network
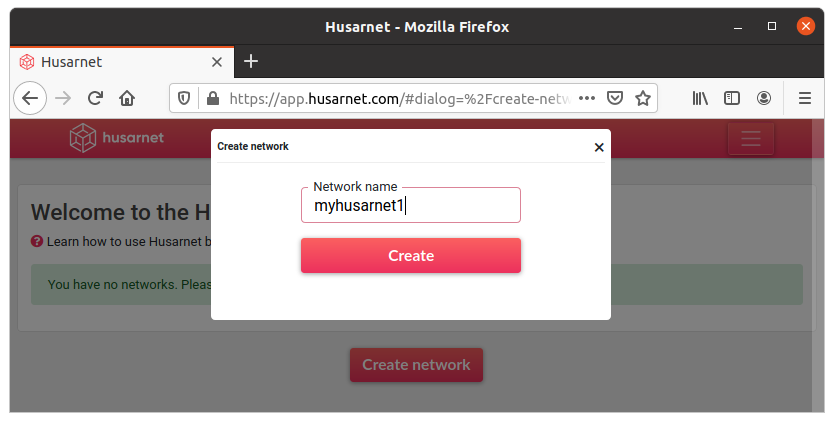
Log in to Husarnet Dashboard, click [Create network] button, name your network and click [Create] button.

II. Get a join code
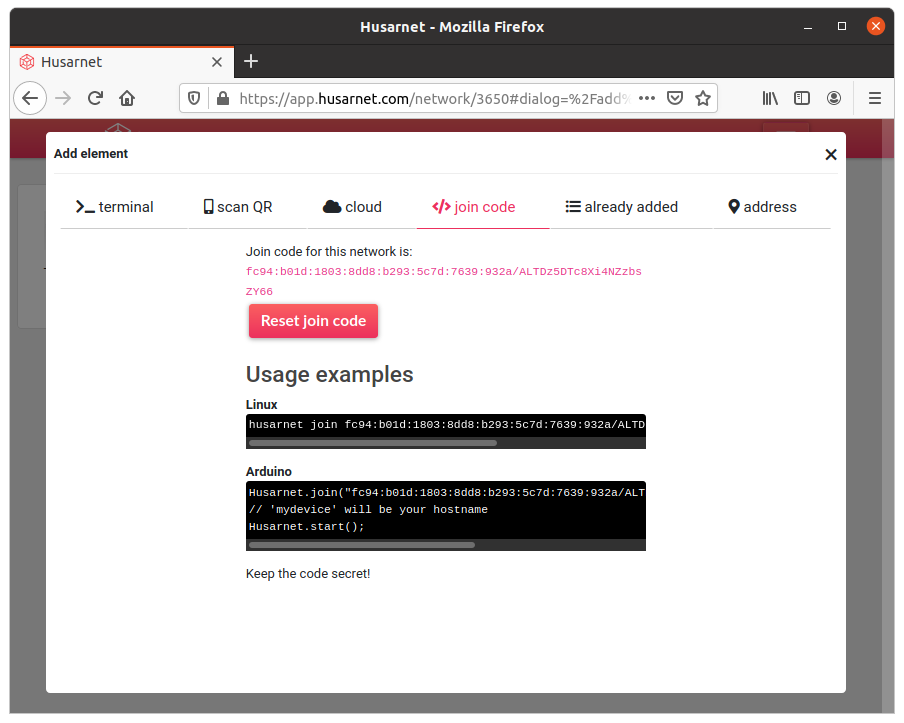
Click [Add element] button, select [join code] tab and copy your join code which looks something like this:
fc94:b01d:1803:8dd8:b293:5c7d:7639:932a/XXXXXXXXXXXXXXXXXXXXX

III. Install Husarnet Client app
Open Linux terminal on devices you want to connect and type:
curl -s https://install.husarnet.com/install.sh | sudo bash
IV. Add devices to the network
Type in the Linux terminal:
sudo husarnet join fc94:...:932a/XXXXXXXXXXXXXXXXXXXXX mylaptop
where fc94:...:932a/XX...X is a join code from point II and mylaptop is an easy to remember hostname you want to associate with your device. After a while you should see your device with “online” status at Husarnet Dashboard
V. Test your network
Do points III and IV on other devices you want to connect. If you would like to ping one device from another just type:
ping6 mylaptop
To ssh to other devices within Husarnet network you can use their hostnames as well:
ssh username@mylaptop
That's all. Installing and using Husarnet Client is very simple. It just works in background on the level of your operating system. Your Husarnet connected devices see each other like they were in the same LAN network.
Just be aware that the server and client operating system you are using must support IPv6 (as Husarnet is an IPv6 overlay network) - for example, you have to listen on "::", not "0.0.0.0".
More resources:
- Husarnet Client manual page to read more about Husarnet Client app you just installed.
- Husarnet Dashboard manual page to read more about how you can manage your networks in an easy way.
- Husarnet Hackster profile containing a simple projects that might inspire you.